To repair a tire puncture, remove the tire, locate the puncture, and apply a patch or plug. Ensure you have a tire repair kit on hand before starting.
Dealing with a punctured tire can be a hassle, but with the right knowledge and tools on how to repair a tire puncture, you can get back on the road quickly. A reliable tire repair kit is essential for any driver and should include at least patches, plugs, and adhesive.
If you’re wondering How to Repair Tire Puncture, begin by safely jacking up your vehicle and removing the wheel. Upon locating the puncture, prepare the area around the hole and firmly apply a patch or insert a plug, following the kit’s instructions. This quick fix is perfect for small punctures, but larger damage may require professional attention.
Remember to always inspect your tires regularly for punctures or other issues, as driving on a compromised tire could be dangerous. Your vehicle’s handling and safety are paramount, and quick tire repair ensures stability on your journeys.
Table Of Contents
Essential Tools For Tire Repair
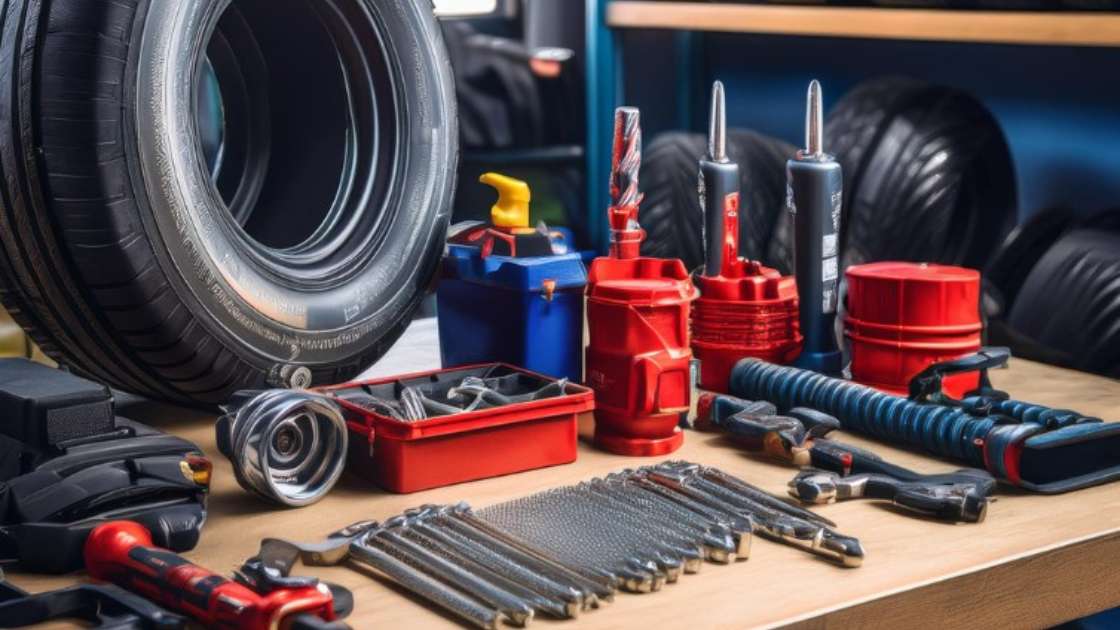
When facing a tire puncture, having the right tools makes all the difference.
Efficiently and safely repairing a flat tire requires specialized tools that can help get the job done swiftly.
For any driver, knowing the essentials for tire repair is crucial.
In this section, we will explore the must-have tools and their functions during the repair process.
Types Of Puncture Repair Kits
There are various puncture repair kits available, each designed for different types of tires and punctures.
- Tire Plug Kits – Ideal for quickly fixing small holes.
- Patch Kits – Perfect for a more permanent fix.
- Combination Kits – Offer both plugs and patches.
- Tubeless Tire Repair Kits – Specifically for tubeless tires.
| Tool | Function |
|---|---|
| Tire Levers | Remove tire from the rim |
| Tire Patches | Cover punctured area |
| Adhesive | Secure patches in place |
| Scuffer | Roughen tire surface |
| Plugging Tool | Insert plugs into punctures |
Understanding Tire Repair Sealants
Sealants provide a temporary solution to fix punctures quickly.
They can keep a tire rolling until a more permanent repair.
- Remove the object that caused the puncture.
- Inject sealant into the tire through the valve.
- Inflate the tire to its correct pressure.
Repair sealants are great in emergencies. They are not a substitute for a proper patch or plug.
Identifying The Puncture
Getting back on the road starts with finding the issue. A tire puncture can halt a journey and needs quick attention. But first, you must spot the pesky culprit causing the leak. Grasp the essentials of identifying a puncture to set the wheel rolling again.
Visual Inspection Of The Tire

Start with a thorough scan of the tire. Look for any signs of damage, such as nails or glass embedded in the tread. Don’t ignore tiny cuts or bulges; they might disguise punctures. Your eyes are powerful tools that often detect most punctures with ease.
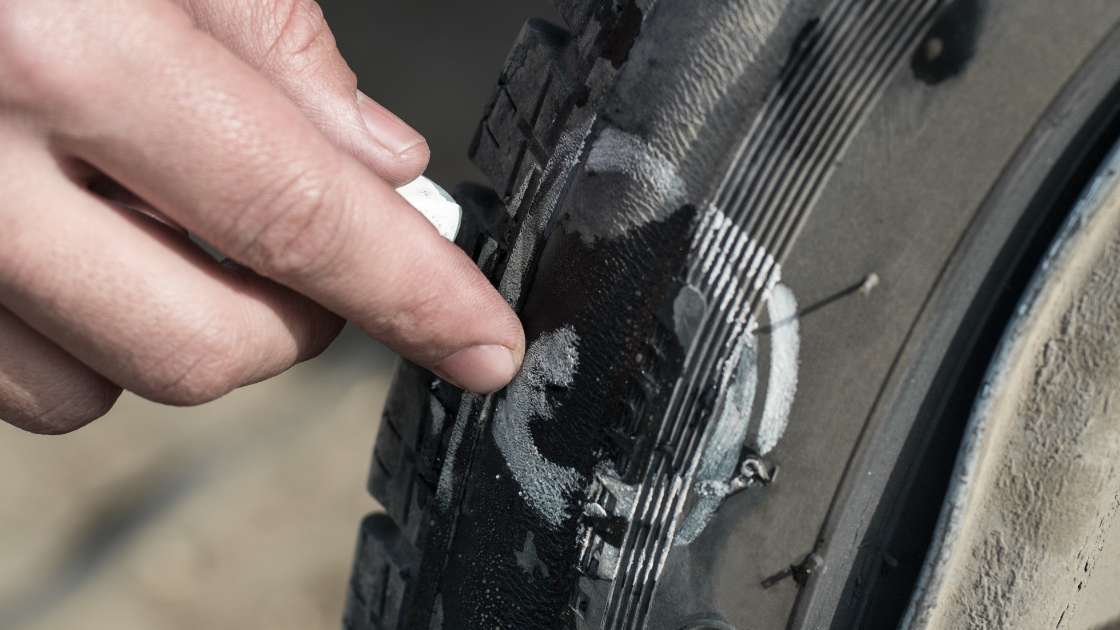
Locating Small Punctures
Finding tiny punctures requires patience and a methodical approach. Listen for a hissing sound, indicating air escaping the tire. If this fails, mix dish soap with water and apply it to the tire. Bubbles will form at the puncture site, revealing the location of even the smallest leaks.
- Inspect thoroughly, checking the entire tire surface.
- Feel along the tire for air movement.
- Submerge in water when possible, to spot the air bubbling up.
- Mark the puncture with chalk or a marker for easy spotting.
Remember, safety is paramount. Park in a secure area before attempting these steps. With the puncture found, you are now ready to repair the tire and return to the road with confidence.
Preparation Before Repair
Before starting a tire repair, preparation is crucial. A smooth and safe repair process ensures your tire is back in action quickly. This guide outlines essential steps before repair.
Safety Measures
Always prioritize safety. Here’s how:
- Wear gloves and eye protection to prevent injuries.
- Use a Jack Stand alongside your vehicle’s jack.
- Park in a safe, flat area away from traffic.
- Keep a flashlight and reflective triangles handy.
Removing The Tire From The Vehicle
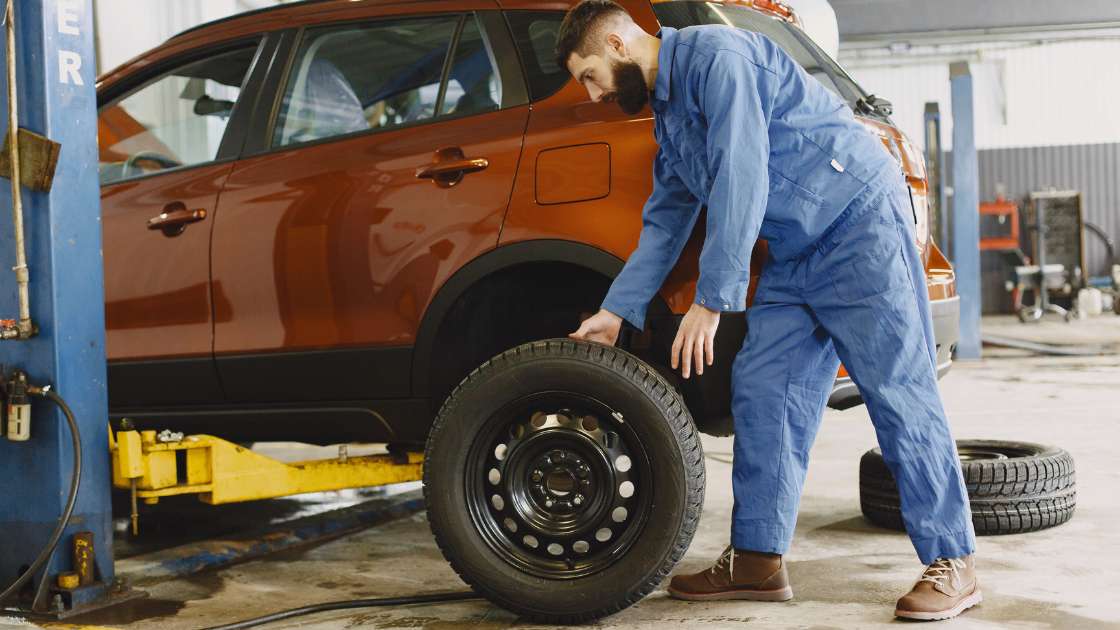
Follow these steps to remove the tire:
- Place your car in Park or Neutral and set the parking brake.
- Loosen the lug nuts before lifting the car.
- Use the jack to raise the car until the tire is off the ground.
- Remove the lug nuts and pull the tire off.
Once the tire is removed, you are ready to locate and assess the puncture.
Steps To Plug A Tire Puncture
Annoying tire punctures can bring your journey to a halt, but knowing how to plug the puncture swiftly can save the day. This essential skill keeps you rolling until a proper tire service can be done. Here’s a clear, step-by-step guide on plugging a tire puncture, an essential fix that every car owner should master.
Cleaning The Hole
First things first, locate the puncture and remove any debris. You’ll need a pair of needle-nose pliers or tweezers to pull out the culprit causing the leak. Whether it’s a nail or a shard of glass, removing it is crucial.
Next, take a rasp tool and insert it into the hole. This not only cleans the opening but also ensures the plug adheres properly. Use a back-and-forth motion to scrub the hole’s interior. Your tire is now ready for the next step.
Inserting The Plug
With the hole clean, you’re set to insert the plug. This seems tricky, but it’s quite straightforward. Begin by threading the plug through the eye of the insertion tool; typically, you’ll need to use about two-thirds of the plug.
Apply rubber cement to the plug for lubrication and a better seal. Push the tool with the plug into the tire hole until there are about two inches left out. Then, pull the tool back out swiftly. The plug will expand and fill the hole.
Finally, cut off any excess plug material sticking out of the tire. It’s vital to leave a smooth surface. Check the area with soapy water for any air bubbles indicating a leak. With no bubbles, your tire is good to hit the road.
Patch Repair Method
Driving on a flat tire is not just risky—it can also lead to more severe damage. Don’t worry, though! Punctures can sometimes be fixed with a patch repair method. This effective technique seals the tire from the inside, offering a durable repair solution.
When To Use A Patch
Determining the right time to use a patch is essential. Consider a patch repair when:
- The puncture is less than 1/4 inch in diameter.
- The damage is located on the tread area.
- There are no sidewall or shoulder punctures.
Applying The Patch Correctly
Applying a patch correctly is crucial for a long-lasting repair. Follow these steps:
- Remove the tire from the wheel and locate the puncture.
- Clean and smooth the area around the hole.
- Apply vulcanizing cement to the prepped area.
- Place the patch over the puncture and press firmly.
- Use a roller to ensure full adhesion of the patch.
- Allow the patch to cure as per the instructions.
Remember, a patch is a dependable method when done right. Always seek professional help if unsure about the process.
Re-inflating The Repaired Tire
Re-inflating the Repaired Tire is a critical step after fixing a puncture. A properly inflated tire ensures safety and optimal performance. Follow these steps to ensure your tire is air-tight and ready for the road.
Checking For Air Leaks
Once the tire patch is in place, ensure there are no leaks:
- Apply soapy water to the repaired area.
- Look for bubbles that indicate escaping air.
- Listen for hissing sounds.
- Feel around the patch with your hand for air movement.
No bubbles or hissing sounds? Your tire is ready for air.
Tire Pressure Considerations
Correct tire pressure is essential for your safety:
- Find the recommended pressure in your car manual or on the driver’s door.
- Use a reliable pressure gauge.
- Inflate the tire to the correct PSI reading.
- Check pressure again after a few minutes.
Ensure your tire matches the recommended pressure for a smooth ride.
Post-repair Tire Maintenance
After successfully repairing a tire puncture, it’s crucial to ensure that the fix holds up over time. Proper post-repair tire maintenance not only prolongs the life of your tire. It also maintains optimal safety and performance on the road. Let’s dive into how you can monitor your tire’s post-repair condition and provide it with long-term care.
Monitoring The Repair
Consistent inspection is key to an enduring repair. Start by checking the repaired area regularly. Look for any signs of air loss or damage. Using a tire pressure gauge, monitor the tire’s pressure at least once a month or before a long journey.
- Check the repair site visually for bulges, punctures, or unusual wear.
- Measure tire pressure and compare it against the manufacturer’s recommended levels.
- Listen for any strange noises when driving, which may indicate a faulty repair.
If anything seems off, take your vehicle to a professional. They will conduct a thorough check and address any issues.
Long-term Care For Tires
Maintaining tire health extends beyond the repair spot. Here’s a checklist for tire care:
- Rotate your tires every 5,000 to 8,000 miles to ensure even wear and tear.
- Balance your tires periodically to maintain smooth driving and reduce stress on the car’s suspension.
- Align your wheels to avoid uneven tread wear.
- Clean your tires from debris and check for wear and tear.
| Care Aspect | Description | Frequency |
|---|---|---|
| Tire Rotation | Promotes even distribution of wear | Every 5,000 – 8,000 miles |
| Wheel Balancing | Minimizes vibration and wear | Check during rotation |
| Wheel Alignment | Prevents uneven tread wear | At least once a year |
Use this table as a quick reference for tire care. Each task supports optimal driving conditions and tire longevity.
Professional Help Vs Diy
Picture this: You’re all set for a road trip and suddenly, you hear the dreaded hiss of a flat tire. You’re faced with a decision – fix the puncture yourself or call the pros?
Understanding when to seek professional help and recognizing the merits of DIY tire repair can steer you toward the best choice for your situation.
When To Seek Professional Tire Repair
There are certain scenarios where calling in the experts is a no-brainer:
- If the puncture is larger than 1/4 inch; professionals handle these best.
- Side wall damage can’t be fixed at home; you need a trusted tire shop.
- Multiple punctures? Get expert hands on your tire.
- TPMS lights are on? It’s time for a professional diagnosis.
Benefits Of Diy Repair
Rolling up your sleeves and handling the job yourself has its advantages:
| DIY Repair Benefit | Explanation |
|---|---|
| Cost-Effective | Skip the shop fees and save your cash. |
| Learning Experience | Gain valuable auto maintenance know-how. |
| Instant Solution | Don’t wait around; fix it and go. |
| Emergency Skills | Be prepared for any road mishaps. |
Frequently Asked Questions For How To Repair Tire Puncture
What Is The Best Way To Repair A Tire Puncture?
Repair a tire puncture by locating the leak, removing the object, cleaning the hole, inserting a plug with an insertion tool, and inflating the tire to the correct pressure. Always check for safe tread depth and sidewall damage before proceeding with a repair.
Can A Nail Puncture In A Tire Be Repaired?
Yes, a nail puncture in a tire can often be repaired if it is less than 1/4 inch in diameter and located in the tread area.
Is It Better To Plug Or Patch A Tire?
For optimal safety and longevity, patching a tire is generally better than plugging it. Patches offer a more secure and lasting repair by sealing the tire from the inside.
What Can I Do For A Punctured Tire?
Pull over safely and turn on your hazard lights. Replace the punctured tire with your spare tire or use a tire repair kit. If unable, seek professional roadside assistance. For long-term solutions, visit a tire shop for repair or replacement.
What Causes A Tire Puncture?
Tire punctures are commonly caused by sharp objects on the road such as nails, glass, or metal debris.
Can Tire Puncture Be Self-repaired?
Yes, minor tire punctures can be repaired with a tire repair kit, which includes plugs or patches.
How Do I Spot A Tire Puncture?
Visible signs include a sharp object embedded in the tire, a hissing sound, or the tire visibly deflating.
Conclusion
Repairing a tire puncture need not be daunting. With the right tools and steps, you’ll be back on the road swiftly. Remember, prompt action can save your tire from further damage. For more DIY car maintenance tips, keep following our blog.
Safe travels and happy motoring!


