I remember the first time I faced a flat tire on my bicycle during a solo ride on a sunny Saturday morning. It was a beautiful day, and I felt invincible until I heard that dreaded ‘pffffft’ sound. Panic set in, but I soon realized that changing a tire was a skill I could master. Here’s “How to Change a Bicycle Tire” you too!
Table Of Contents
Understanding the Essentials of Bicycle Tires
Bicycle tires are often overlooked, yet they play a crucial role in our cycling experience. They are the only contact point between your bike and the road. So, understanding the different types of bicycle tires and their uses is essential for every cyclist.
Types of Bicycle Tires
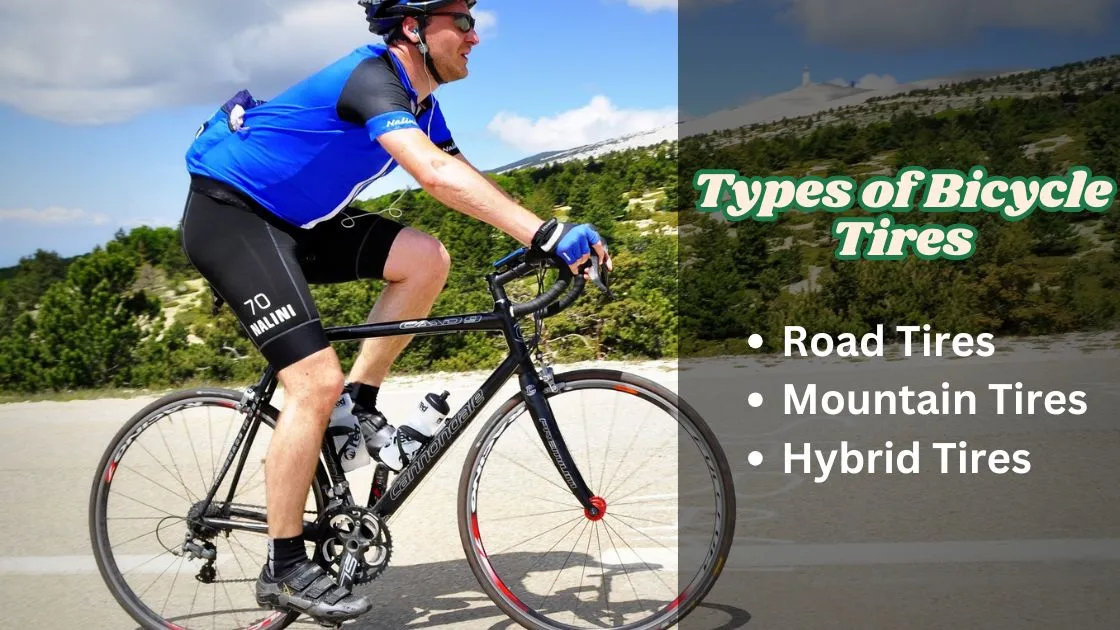
There are three main types of bicycle tires: road, mountain, and hybrid. Each type serves a specific purpose.
- Road Tires: These tires are designed for speed and efficiency on paved surfaces. They are typically narrow and have a smooth tread. Ideal for racing and long-distance rides.
- Mountain Tires: Built for rugged terrain, mountain tires are wider and have deep treads for better grip. They can handle rocks, roots, and steep inclines.
- Hybrid Tires: As the name suggests, these tires combine features of both road and mountain tires. They are versatile and suitable for various surfaces, making them great for city commuting.
Choosing the right tire can significantly affect your ride. Have you ever felt the difference between a smooth road and a bumpy trail? The right tire can make all the difference.
Importance of Checking Tire Pressure
Did you know that checking your tire pressure regularly is one of the simplest ways to maintain your bike? Proper tire pressure ensures better performance and safety. Under-inflated tires can lead to flats and make your ride less efficient.
So, how often should you check your tire pressure? Ideally, do it before every ride. A quick squeeze or using a pressure gauge can help you determine if your tires are at the right pressure.
Remember, “A well-maintained bike tire is essential for safety and performance.” – John Doe, Cycling Expert
Tools Needed for Tire Changes
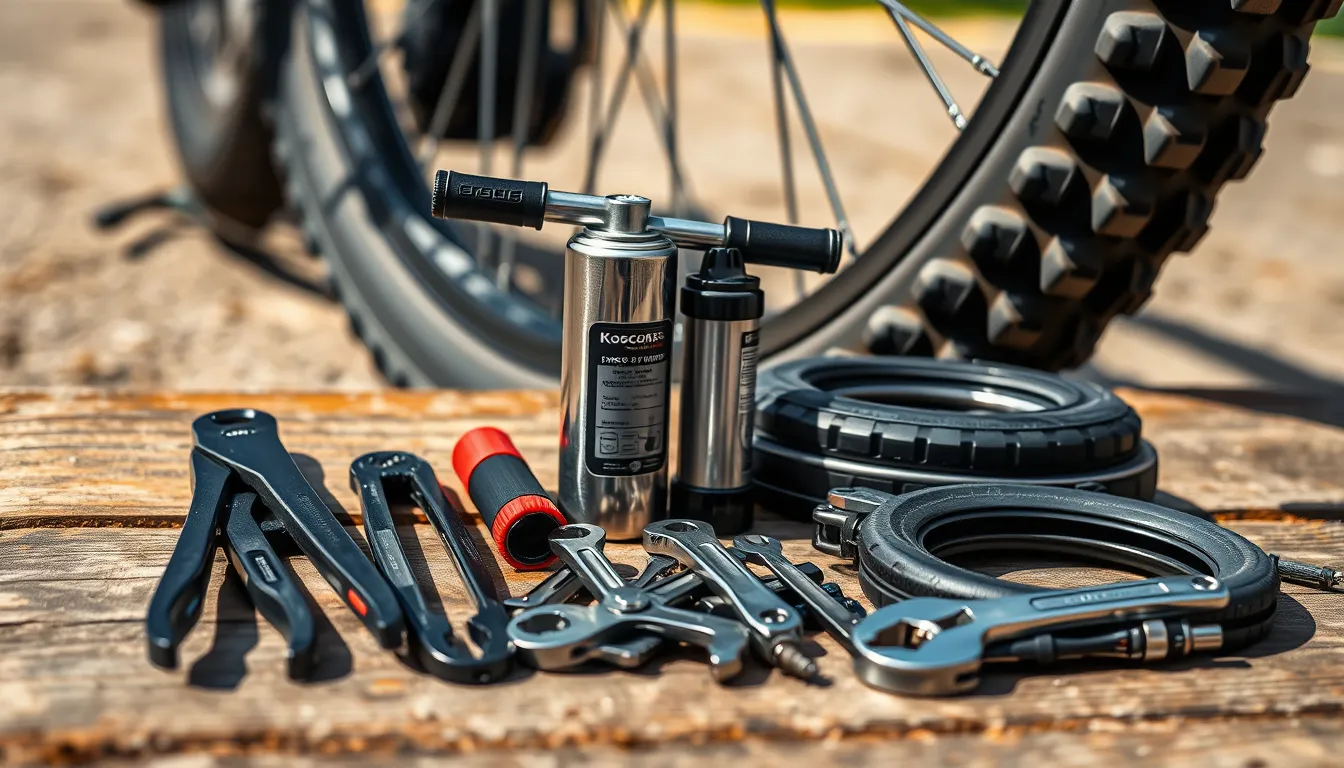
Every cyclist should be prepared for a flat tire. Having the right tools can make this process much easier. Here’s a quick list of what you’ll need:
- Tire Levers: These help to pry the tire off the rim without damaging it.
- Pump: A good pump is essential for inflating your tire after a change.
- Wrenches: Depending on your bike, you may need a wrench to remove the wheel.
Having these tools on hand can save you time and frustration. Imagine being stuck on a trail with a flat tire and no way to fix it! It’s not a pleasant thought.
Regular Maintenance
Regular maintenance can prolong the life of your tires. This includes checking for wear and tear, ensuring proper inflation, and cleaning the tires to remove debris. A little effort goes a long way.
In summary, understanding the essentials of bicycle tires is vital for every cyclist. From knowing the different types to regularly checking tire pressure and having the right tools, these practices can enhance your cycling experience. So, next time you hop on your bike, take a moment to appreciate those tires beneath you!
| Type of Tire | Best For |
|---|---|
| Road Tires | Paved surfaces, racing |
| Mountain Tires | Rugged terrain, off-road |
| Hybrid Tires | City commuting, versatile use |
Step-by-Step Guide to Changing a Bicycle Tire
Changing a bicycle tire might seem daunting at first. But trust me, it’s a skill every cyclist should have. After all, a flat tire can happen anytime. And you don’t want to be stranded, right? So, let’s dive into the process of changing a tire step by step.
1. Preparation for the Task
Before you start, find a quiet workspace. This is crucial. A calm environment helps you focus. You don’t want distractions when you’re dealing with tools and tires. Gather your supplies:
- New inner tube
- Tire levers
- Bike pump
- Wrench (if needed)
- Patch kit (just in case)
Having everything at hand will make the process smoother. It’s like preparing for a race; you wouldn’t want to forget your gear!
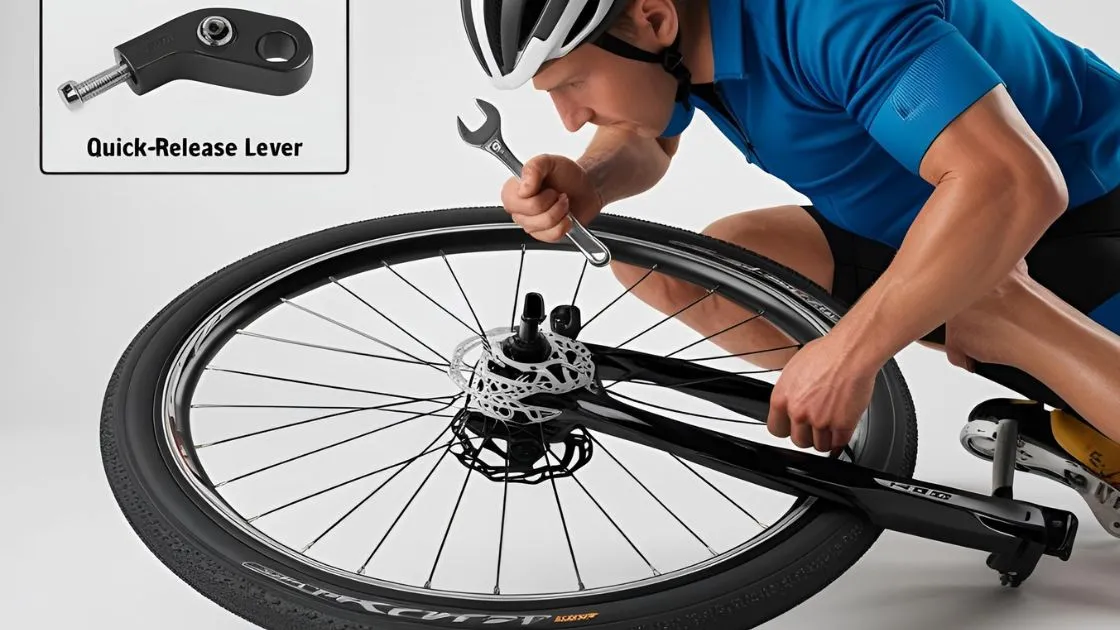
2. Loosening the Wheel
Now, let’s get to the fun part. First, you need to loosen the wheel. If your bike has quick-release levers, this is easy. Just flip the lever and pull the wheel out. If it’s bolted on, grab your wrench and loosen the nuts. Remember, lefty-loosey, righty-tighty!
Once the wheel is off, place it on a flat surface. This will make it easier to work on. It’s like laying out a canvas before painting.
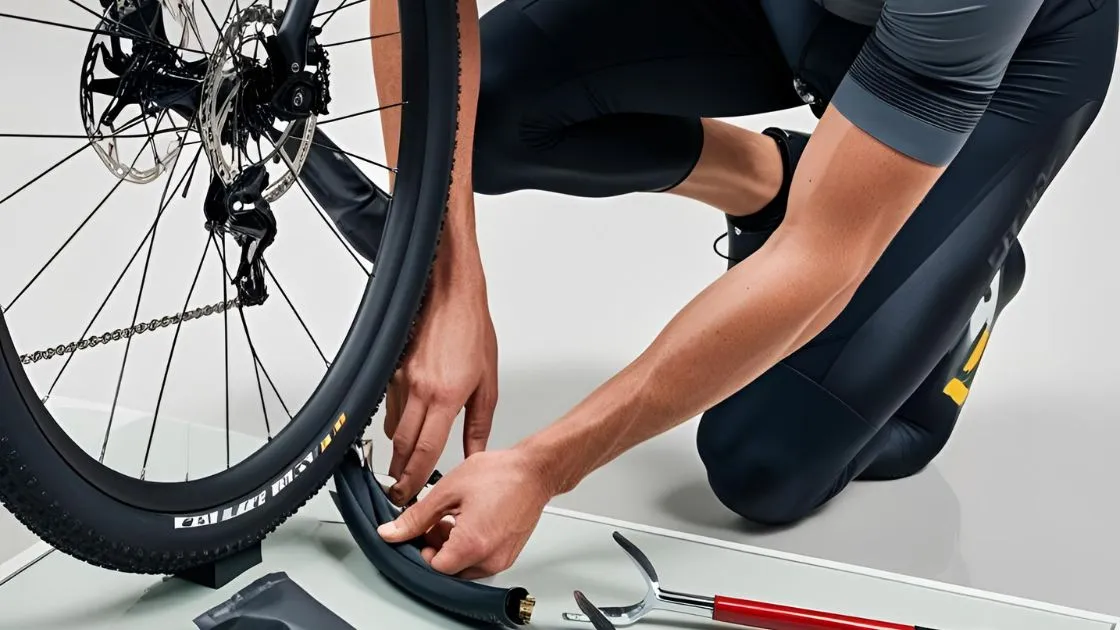
3. Puncture Detection and Tire Removal
Next, it’s time to find the puncture. Run your fingers along the tire’s surface. You might feel a small hole or see a foreign object stuck in there. If you can’t find it, try inflating the tire slightly. Listen for hissing sounds. That’s your clue!
Now, let’s remove the tire. Insert the tire levers between the tire and the rim. Gently pry the tire off. It might take a bit of effort, but don’t worry. You’ll get the hang of it. Just be careful not to damage the rim.
4. Installing the New Tube
Once the tire is off, take your new inner tube. Before inserting it, check the tire for any debris or sharp objects. You don’t want to ruin your new tube right away!
Now, place the new tube inside the tire. Start at the valve and work your way around. Make sure it’s seated properly. Then, push the tire back onto the rim. This can be tricky, but use your hands and the tire levers if necessary.
Finally, inflate the tire using your bike pump. Keep an eye on the pressure. Most tires have a recommended PSI printed on the side. Follow that to ensure a safe ride.
5. Securing the Tire Back on the Wheel
With the tire inflated, it’s time to put the wheel back on the bike. If you’re using quick-release, just slide it back into place and secure it. For bolted wheels, tighten the nuts securely. Give it a little shake to ensure it’s stable.
And there you have it! You’ve changed your tire. Remember, practice makes perfect. Don’t get discouraged if it takes a few tries. Each attempt will make you more confident.
Don’t let a flat tire ruin your ride, know how to fix it!” – Jane Smith, Cycling Coach
Knowing how to change a tire can enhance your independence as a cyclist. You’ll feel empowered, ready to tackle any ride, knowing you can handle a flat tire. So, grab your tools and get started!
Aftercare and What to Do Post Change
Changing a bicycle tire is a skill every cyclist should master. But what happens after the change? Proper aftercare is crucial. It ensures your bike remains in top shape and helps prevent future issues.
How to Properly Inflate the Tire and Check for Leaks
First things first, let’s talk about tire inflation. It’s not just about pumping air into the tire. You need to do it right. An under-inflated tire can lead to poor performance and even flats. So, how do we get it right?
- Use a pressure gauge: This tool is your best friend. It tells you exactly how much air is in your tire. Each tire has a recommended pressure range. Make sure you stick to it.
- Check for leaks: After inflating, take a moment to inspect the tire. Look for any hissing sounds or visible damage. You can also apply soapy water to the tire. If you see bubbles forming, you’ve got a leak.
Remember, “There’s nothing worse than a flat tire spoiling your ride–be proactive!” – Emily Green, Bike Mechanic. This quote rings true. Regular checks can save you from an unexpected flat while out on the road.
Cleaning Tools After the Job to Maintain Longevity
After changing a tire, it’s easy to toss your tools aside. But that’s a mistake. Cleaning your tools is essential for their longevity.
- Wipe down your tools: Use a cloth to remove dirt and grime. This simple act can prevent rust and wear.
- Store your repair kit properly: Keep it in a dry place. Moisture can damage tools and make them less effective.
Taking care of your tools means they’ll take care of you when you need them most.
Storing Your Bike Properly to Avoid Future Issues
How you store your bike can make a big difference. Improper storage can lead to various issues, including flat tires.
- Avoid moisture: Store your bike in a dry area. Moisture can cause rust and damage components.
- Keep it away from extreme temperatures: Heat and cold can affect the tire pressure and overall bike integrity.
By following these simple storage tips, you can extend the life of your bike and its components.
Quick Reference Table
| Task | Tip |
|---|---|
| Properly inflate tires | Use a pressure gauge for accuracy |
| Clean tools post-change | Keep your repair kit in a dry place |
| Store bike properly | Avoid moisture and extreme temperatures |
Post-change maintenance can mitigate future tire issues. Regular checks and proper care can keep your bike running smoothly. So, let’s stay proactive and enjoy our rides!
Personal Anecdotes: Why Maintenance Matters
Every cyclist has a story. Mine is filled with memorable rides, some exhilarating and others… well, not so much. One of the most frustrating experiences I’ve had was when a flat tire ruined what was supposed to be a perfect day on the road.
I remember the sun shining, the wind in my hair, and the thrill of the open road. But then, it happened. A sudden thud, and I was left stranded, staring at my deflated tire. It was a harsh reminder that maintenance matters.
My Memorable Rides Spoiled by Flat Tires
Flat tires can strike at the worst moments. I recall one ride in particular. I was cruising along a scenic route, surrounded by nature, when I felt that familiar bump. I pulled over, and sure enough, my back tire was flat. I had no tools, no spare tube, and no idea how to fix it. That day, I learned a valuable lesson: being prepared is half the battle.
It’s easy to overlook bike maintenance. We often think, “It won’t happen to me.” But it does. Every cyclist will face flat tires at some point. It’s part of the journey. The key is to embrace the learning process. I had to learn the hard way, but you don’t have to.
The Learning Curve: Becoming Self-Sufficient on the Road
Over time, I realized that learning how to maintain my bike was not just a necessity; it was empowering. I started watching videos, reading articles, and practicing on my own bike. The first time I successfully changed a tire, I felt a rush of pride. I was no longer a victim of my flat tires. I was in control.
Learning bike maintenance is like learning to ride a bike itself. At first, it seems daunting. But with practice, it becomes second nature. I encourage everyone to tackle bike maintenance with confidence. Start small. Learn how to fix a flat tire, then move on to other tasks. Each skill you acquire builds your confidence and independence on the road.
Encouragement for Others
Don’t let the fear of maintenance hold you back. I’ve met many cyclists who shy away from learning how to fix their bikes. They worry they’ll mess something up or that it’s too complicated. But I assure you, it’s not. The road teaches the best skills if you let it. With each challenge, you grow stronger and more capable.
Think about it: wouldn’t you rather be the one fixing your bike than waiting for help? Imagine the freedom that comes with knowing you can handle any situation. You’ll feel empowered, and your rides will be much more enjoyable.
“The road teaches the best skills if you let it.”
In conclusion, bike maintenance is not just about fixing a tire; it’s about the journey of learning and growing as a cyclist. My experiences with flat tires taught me the importance of being prepared and self-sufficient. I hope my story inspires you to embrace the learning process.
Remember, every cyclist will face challenges, but it’s how we respond to those challenges that defines our journey. So, gear up, learn the skills, and hit the road with confidence. Your next adventure awaits!
Changing a bicycle tire involves loosening the wheel, removing the tire, replacing the inner tube, and reassembling the wheel. With practice, you’ll be able to do it in no time!
Frequently Asked Questions for How to Change a Bicycle Tire
How long does it take to change a bicycle tire?
With practice, you can change a tire in about 10-15 minutes. Beginners might take a bit longer.
Can I patch a tube instead of replacing it?
Yes, patching is a cost-effective and eco-friendly option. Just make sure the patch is applied correctly.
How do I know the right tire pressure?
Check the sidewall of your tire for the recommended PSI (pounds per square inch). Most road bikes use 80-130 PSI, while mountain bikes use 30-50 PSI.
What causes flat tires?
Common causes include sharp objects like glass or thorns, worn-out tires, and improper inflation.
Can I use the same tube for different tires?
Tubes are generally interchangeable as long as they match the tire size (e.g., 26”, 700c).


